astrophotography
Basic Astrophotography Camera Settings
Mode: Manual (M)
File Format: RAW
Lens: Wide-angle lens (14–24mm preferred)
Aperture: f/2.8 or wider (f/1.4–f/2.8)
ISO: 1600–6400
Shutter Speed: 10–25 seconds
Focus: Manual focus set on a bright star
Image Stabilisation: Off (when using a tripod)
Shutter Delay: 2-second timer or remote shutter release
Tripod: Essential for sharp images

Milky Way Photography
Aperture: f/2.8 or below
Wide open 14mm for Landscape or Zoom in 50mm
ISO: 3200
Shutter Speed: 30 - 90 seconds
Use Star Tracker
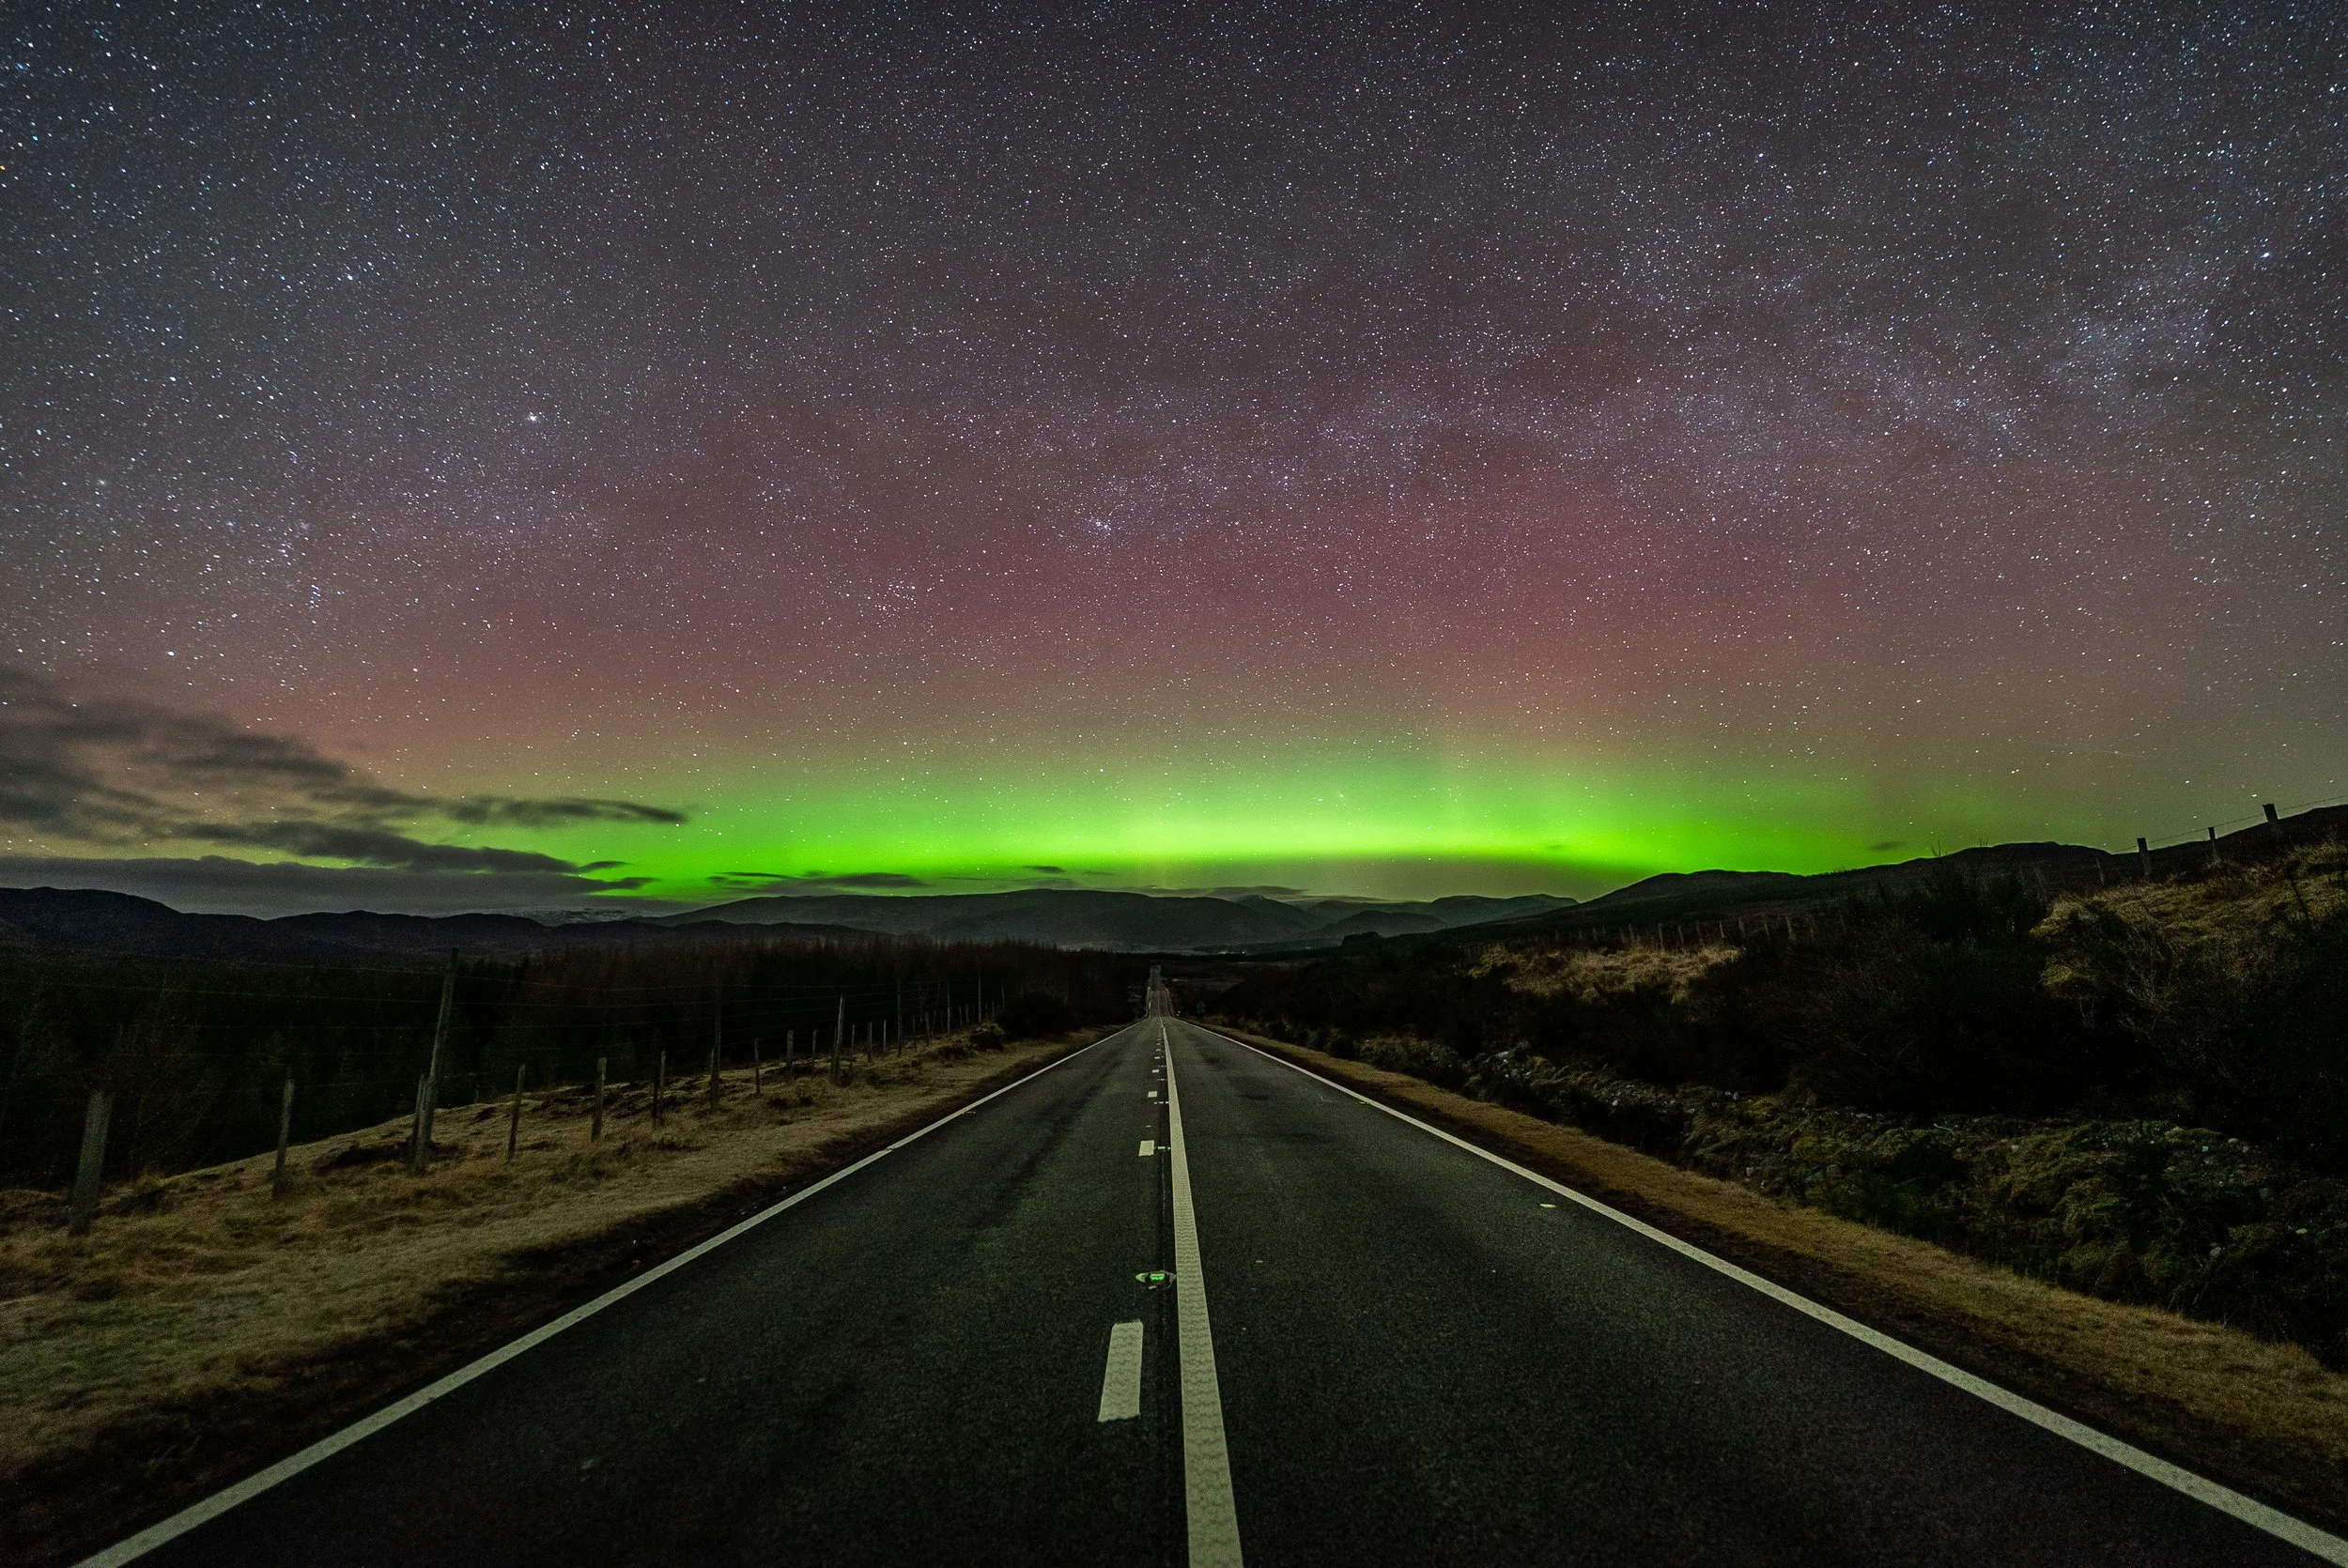
Northern Lights Photography
Aperture: f/2.8 or below
ISO: 800–3200
Shutter Speed: 1–10 seconds (depending on aurora brightness)
Star Trails Photography
Aperture: f/2.8 or lower
ISO: 200 – 2500
Shutter Speed: 10min Exposure with low ISO
Take 400-600 single images at 20 seconds and stack them in StarStax Software
The 500 Rule
To avoid stars appearing as trails:
500 ÷ Focal Length = Maximum Shutter Speed
Examples:
14mm lens → 500 ÷ 14 = 35 seconds
20mm lens → 500 ÷ 20 = 25 seconds
24mm lens → 500 ÷ 24 = 20 seconds
Before You Press the Shutter
✓ Shoot in RAW
✓ Use a sturdy tripod
✓ Use a timer or remote release
✓ Check focus by zooming in on a bright star
Essential Astrophotography Equipment
Cameras
DSLR or Mirrorless Camera with Manual Controls
Full-frame camera preferred for better low-light performance
Ability to shoot in RAW format
Lenses
Wide-angle lens (14–24mm) for Milky Way photography
Fast aperture lens (f/2.8 or wider)
Standard zoom lens (24–70mm) for versatile nightscapes
Telephoto lens (70–200mm+) for Moon and deep-sky targets
Tripod
Sturdy carbon fibre or aluminium tripod
Strong ball / Pano head capable of supporting camera and lens weight
Camera Accessories
Remote shutter release or intervalometer
Spare batteries (cold weather drains batteries quickly)
Large-capacity memory cards
Lens cleaning cloths
Lighting & Comfort
Red-light head torch (preserves night vision)
Warm, layered clothing
Waterproof jacket and trousers
Gloves and hat
Planning Tools
Star map app
Weather forecasting app
Aurora forecasting app
Moon phase calendar
Dew Prevention
Lens heater or dew heater strap
Astrophotography for Beginners
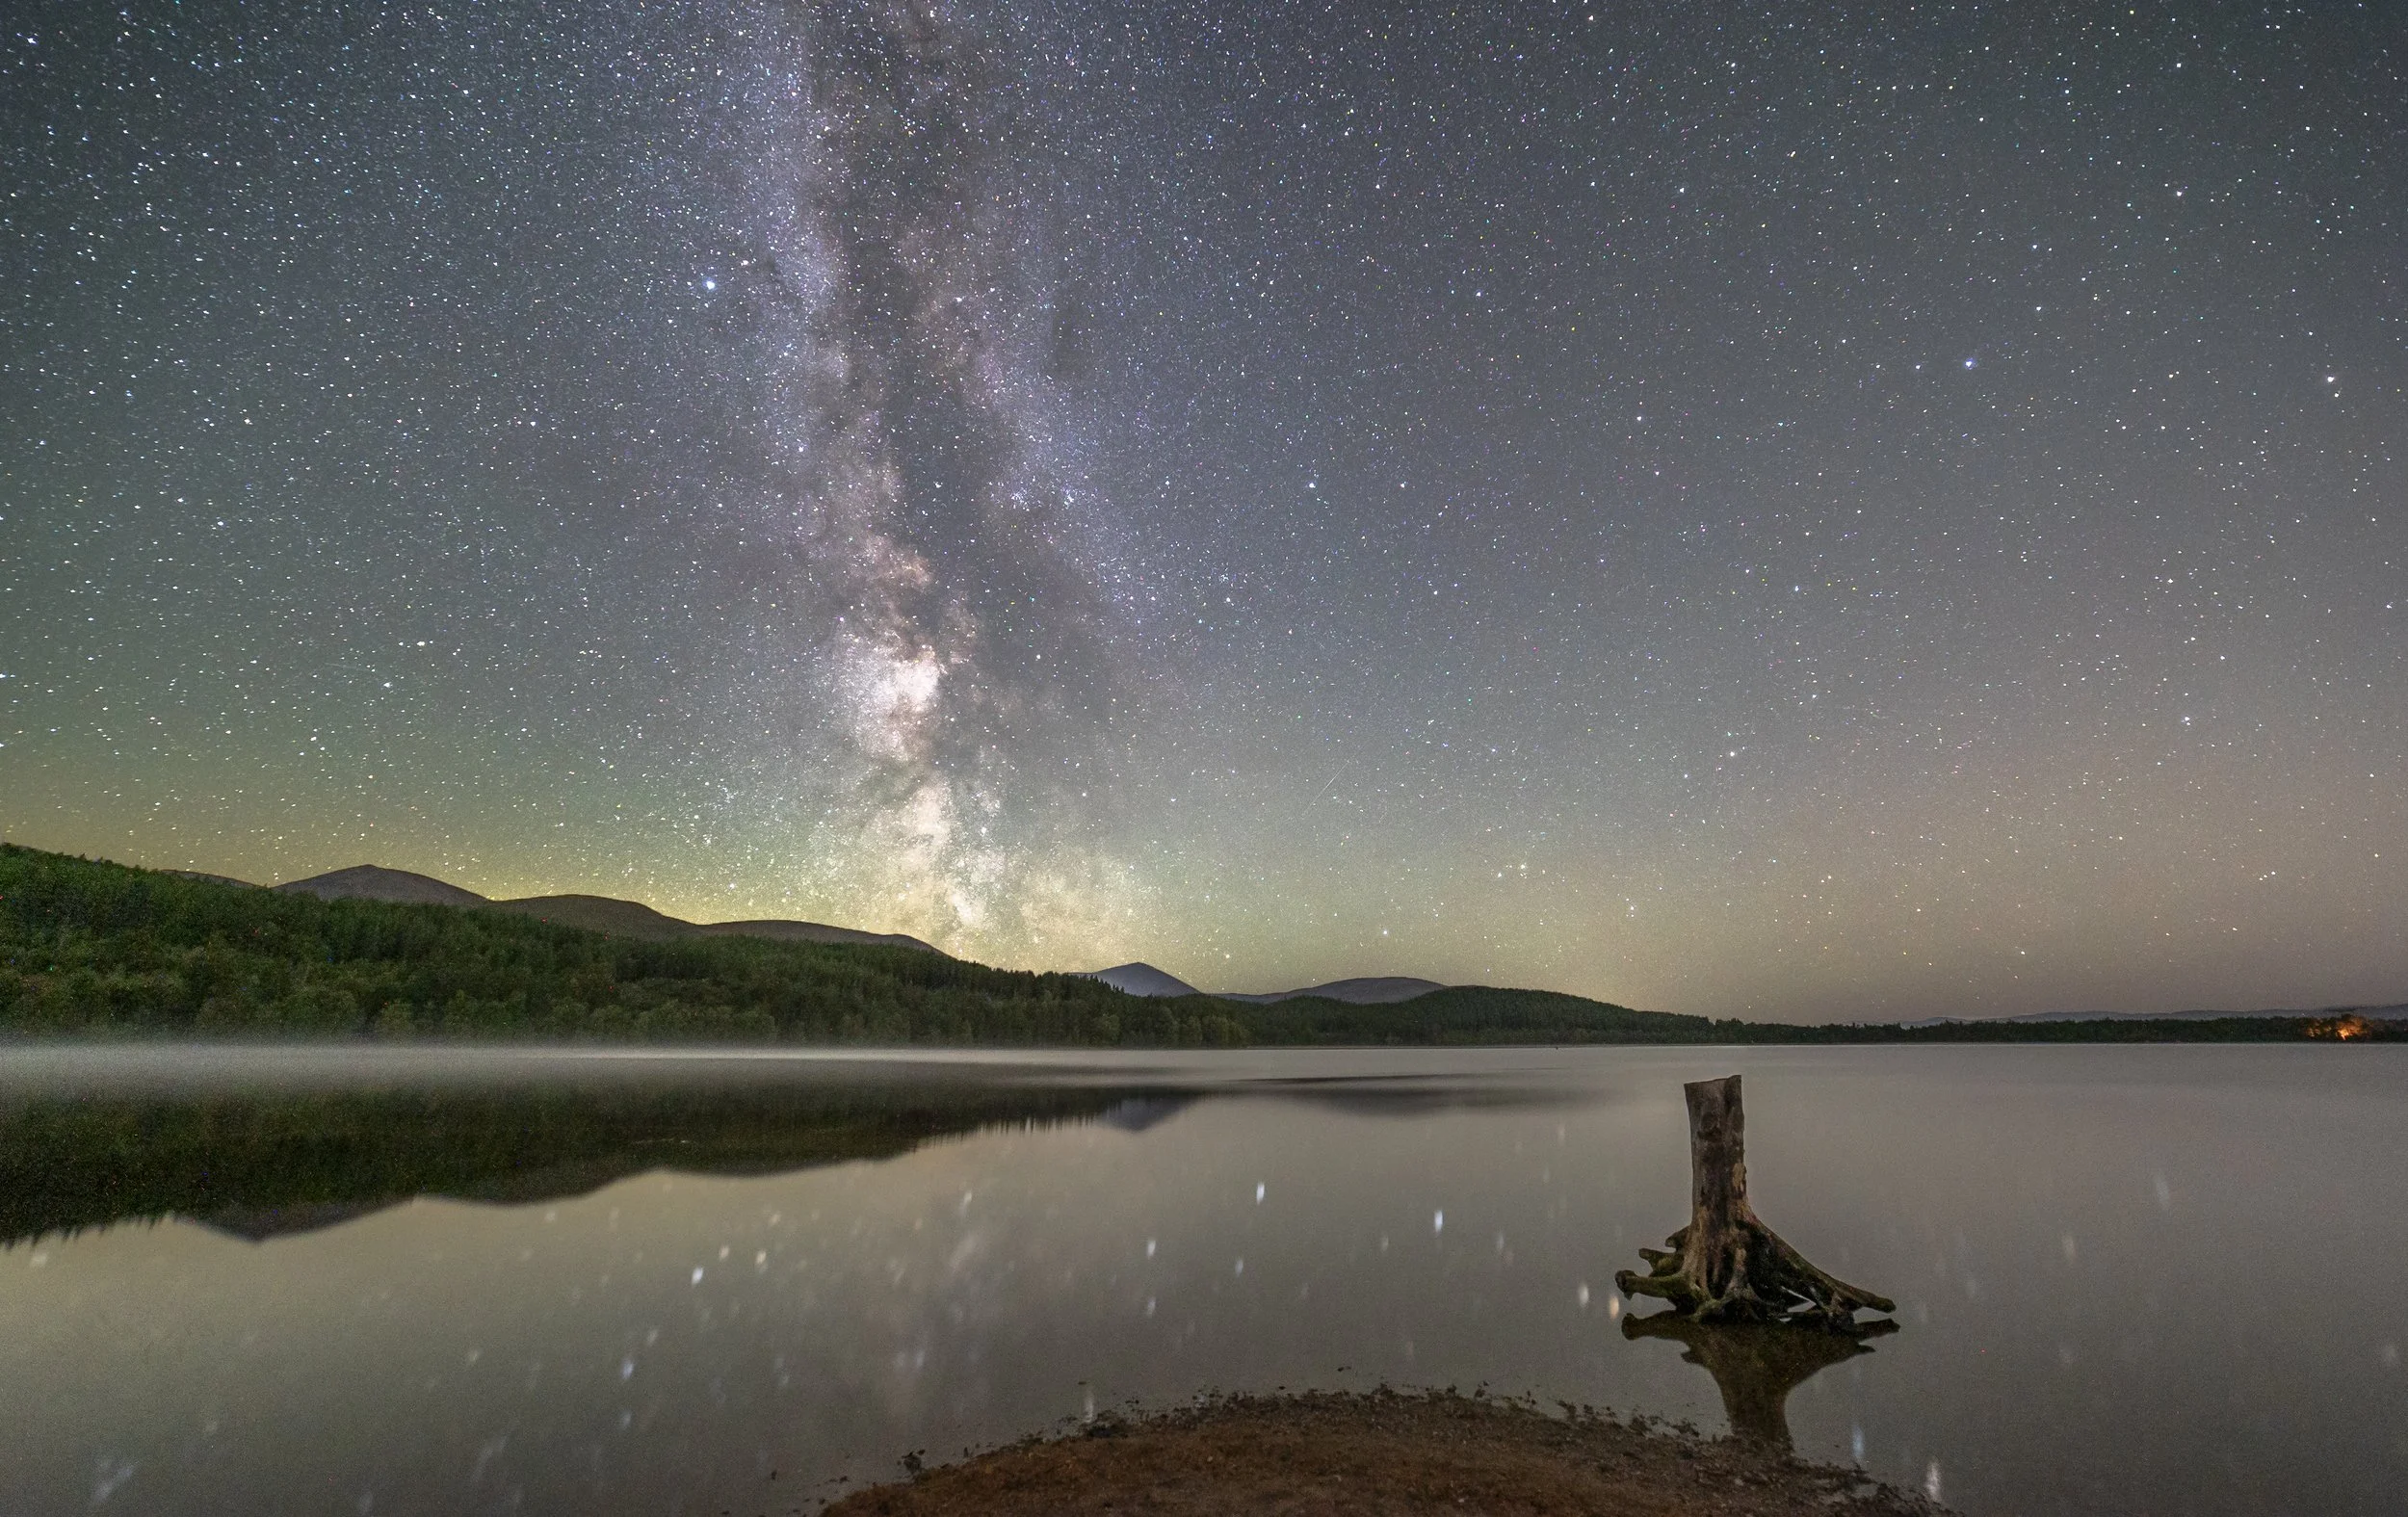
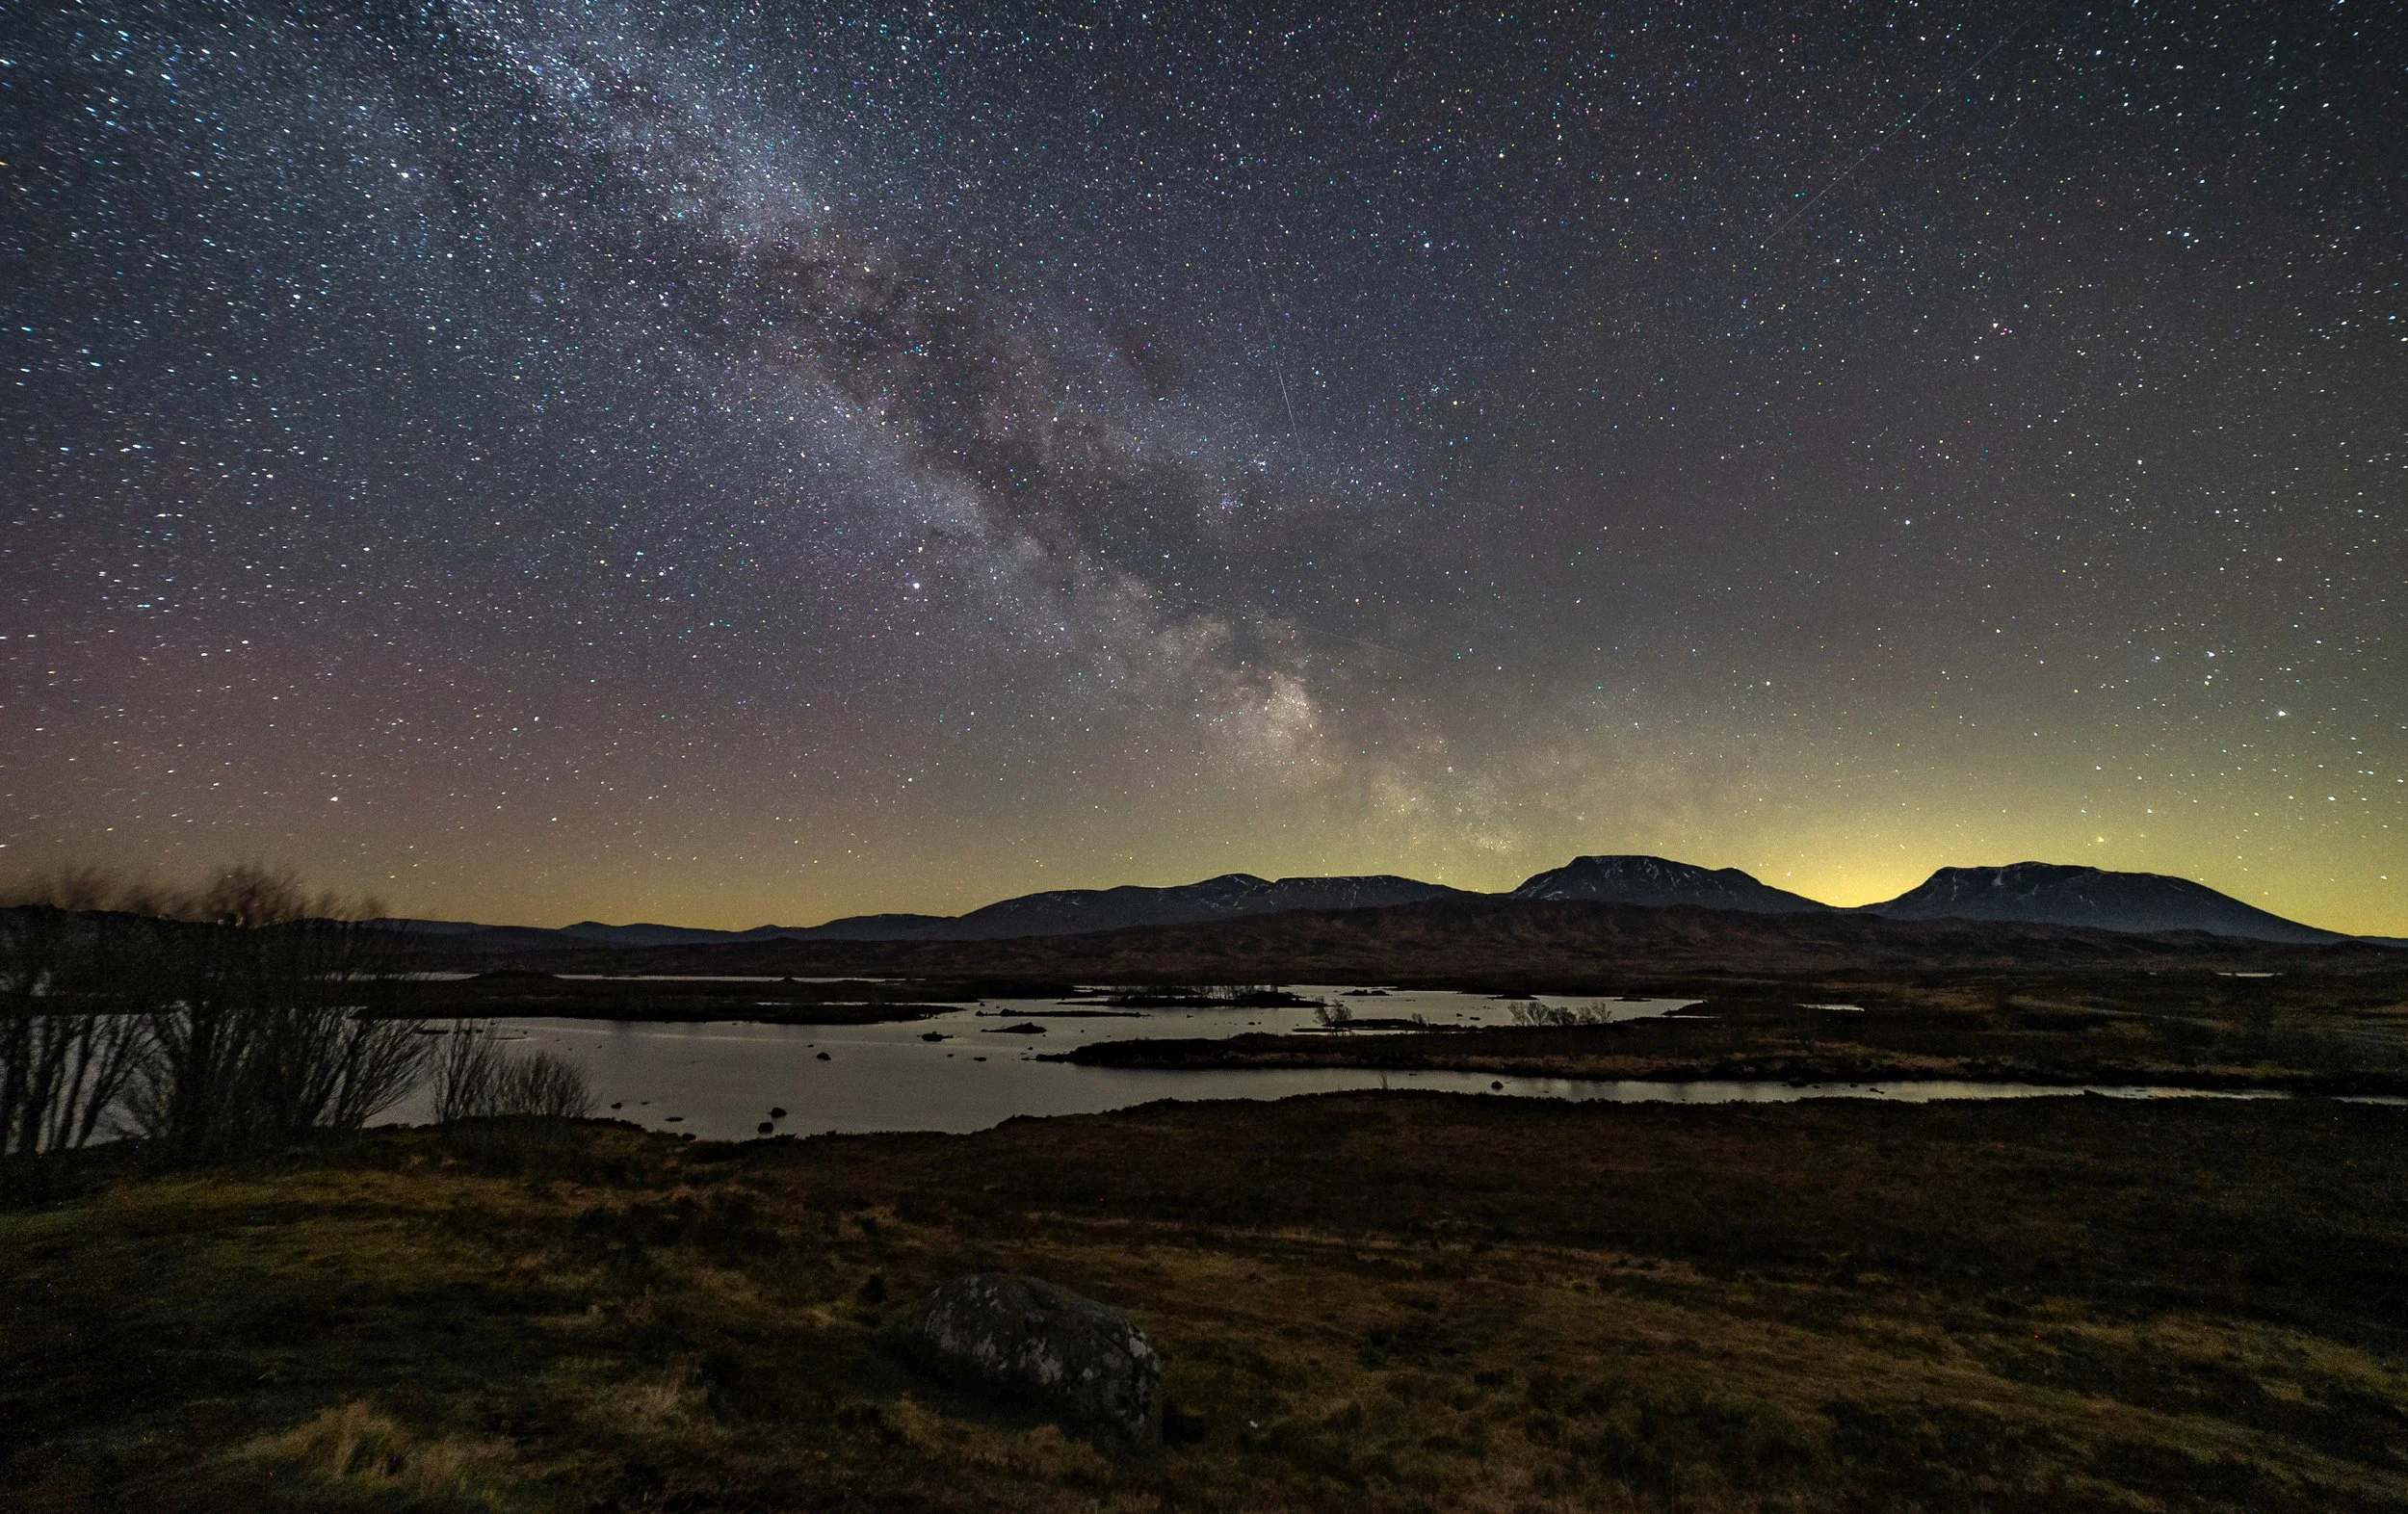
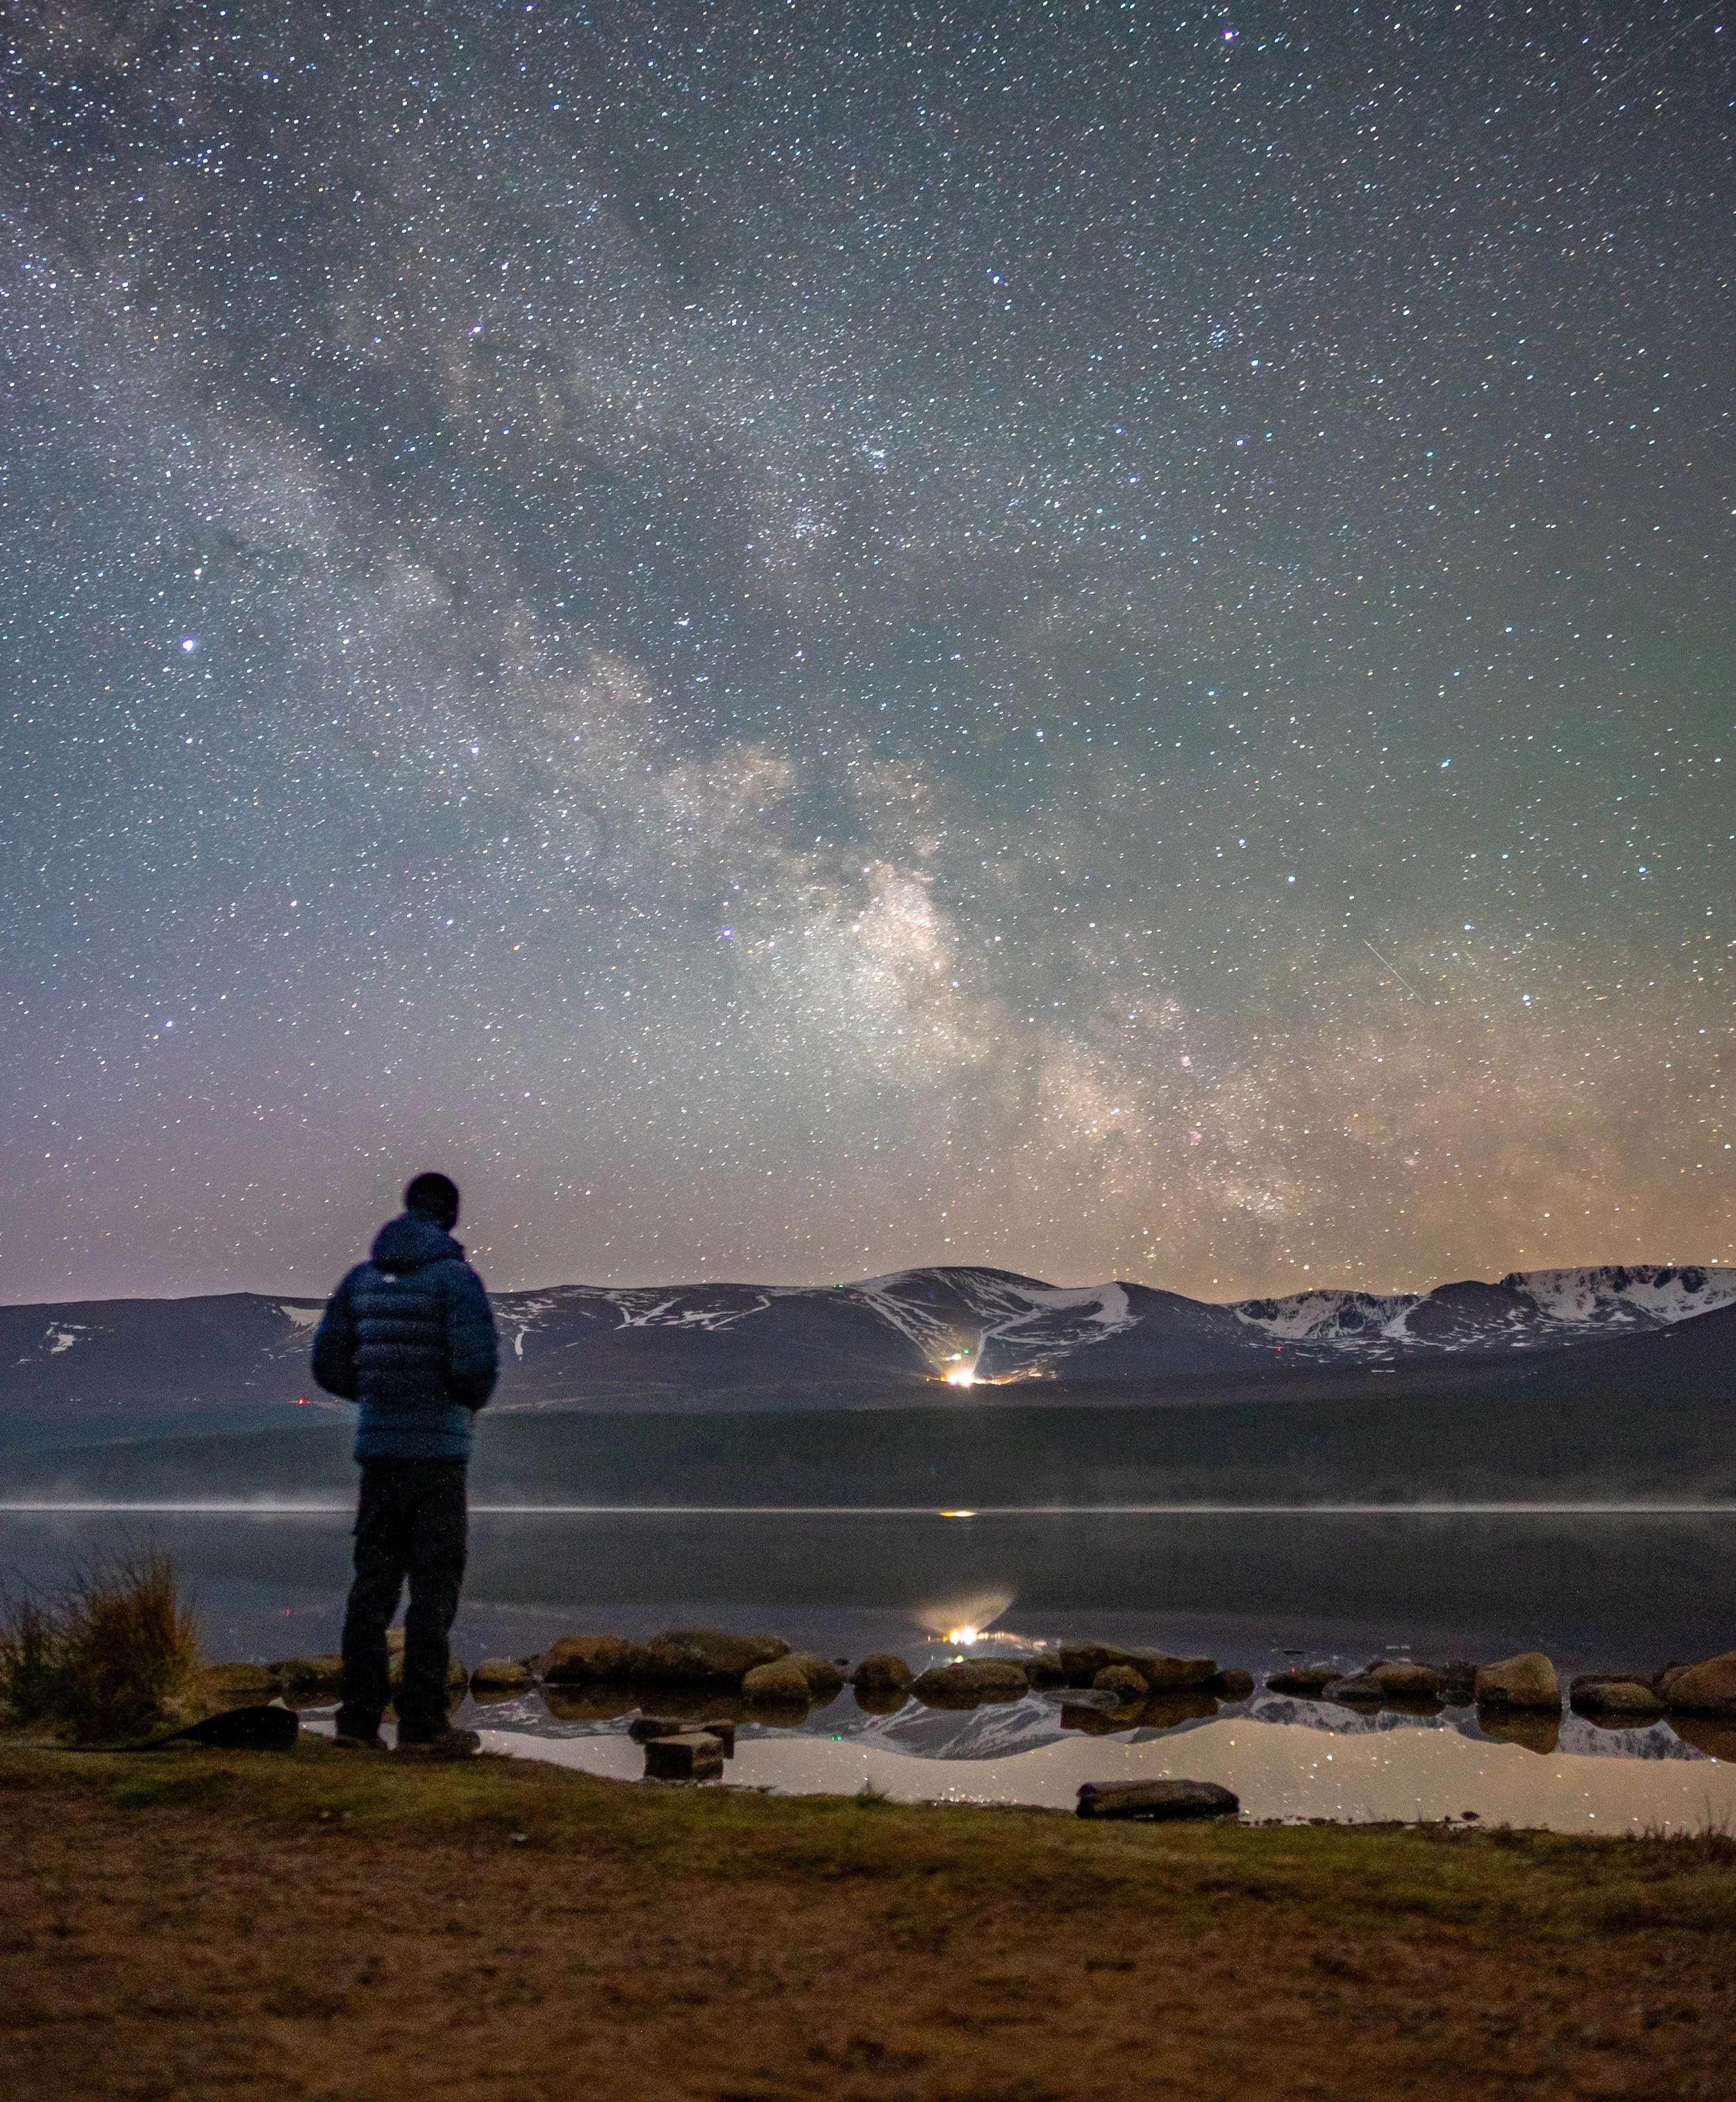
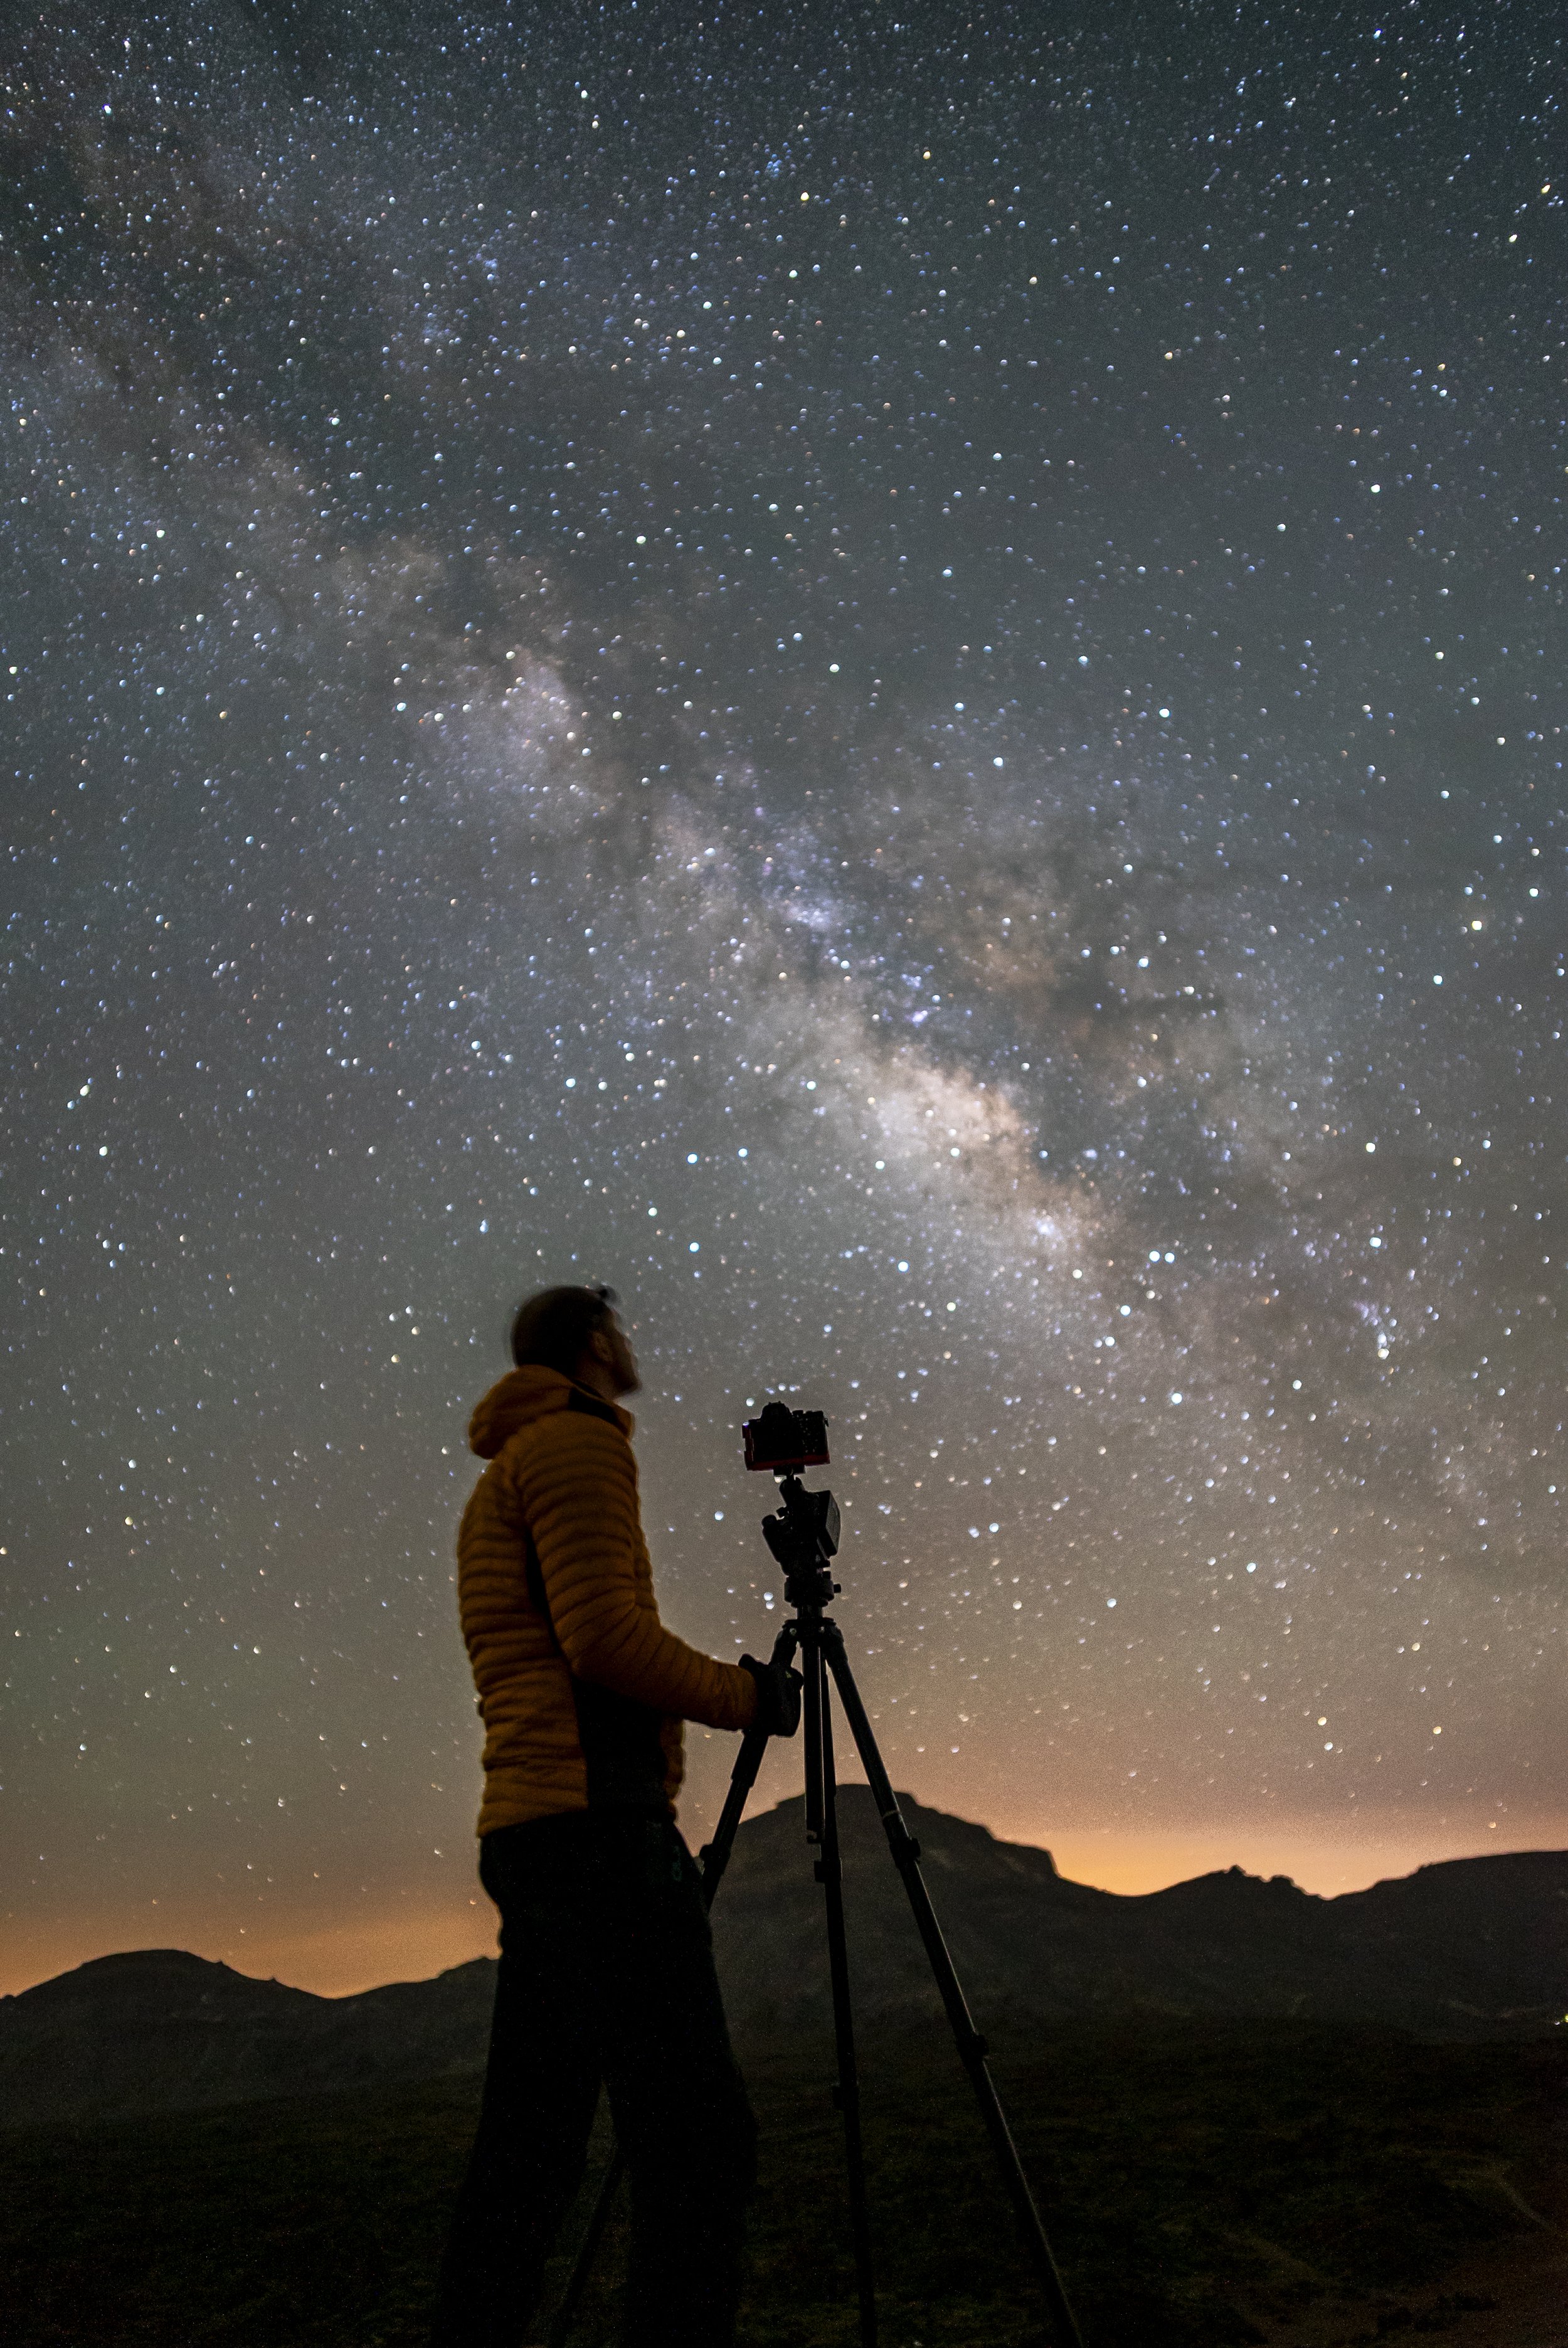
Astrophotography may seem complicated at first, but getting started is easier than many people think. Modern cameras, smartphones, and affordable equipment have made photographing the night sky more accessible than ever. The most important factors are finding a dark location away from light pollution, shooting on a clear night, and learning a few basic camera settings. Scotland offers some of the darkest skies in Europe, making it an ideal place to begin your astrophotography journey.
For beginners using a DSLR or mirrorless camera, a sturdy tripod is essential. Set your camera to Manual Mode and use a wide-angle lens if possible. Start with an aperture of f/2.8 or wider, an ISO between 1600 and 6400, and an exposure time of around 10–20 seconds. Focusing accurately is one of the biggest challenges for newcomers, so switch to manual focus and zoom in on a bright star using your camera's live view screen until it appears as a small, sharp point of light.
Composition is just as important as camera settings. Including interesting foreground subjects such as mountains, lochs, castles, standing stones, or trees can help create a nice image. The Milky Way, northern lights, meteor showers, and moonlit landscapes all make excellent targets for beginner astrophotographers. Experiment with different viewpoints and don't be afraid to take multiple images as conditions change throughout the night.
Patience is one of the most valuable skills in astrophotography. Weather, cloud cover, moonlight, and seasons can all influence your results. Learning how to use weather forecasts, moon phase calendars, and light pollution maps will dramatically improve your chances of capturing stunning night sky photographs.
Advanced Astrophotography: Tracking, Stacking and Editing
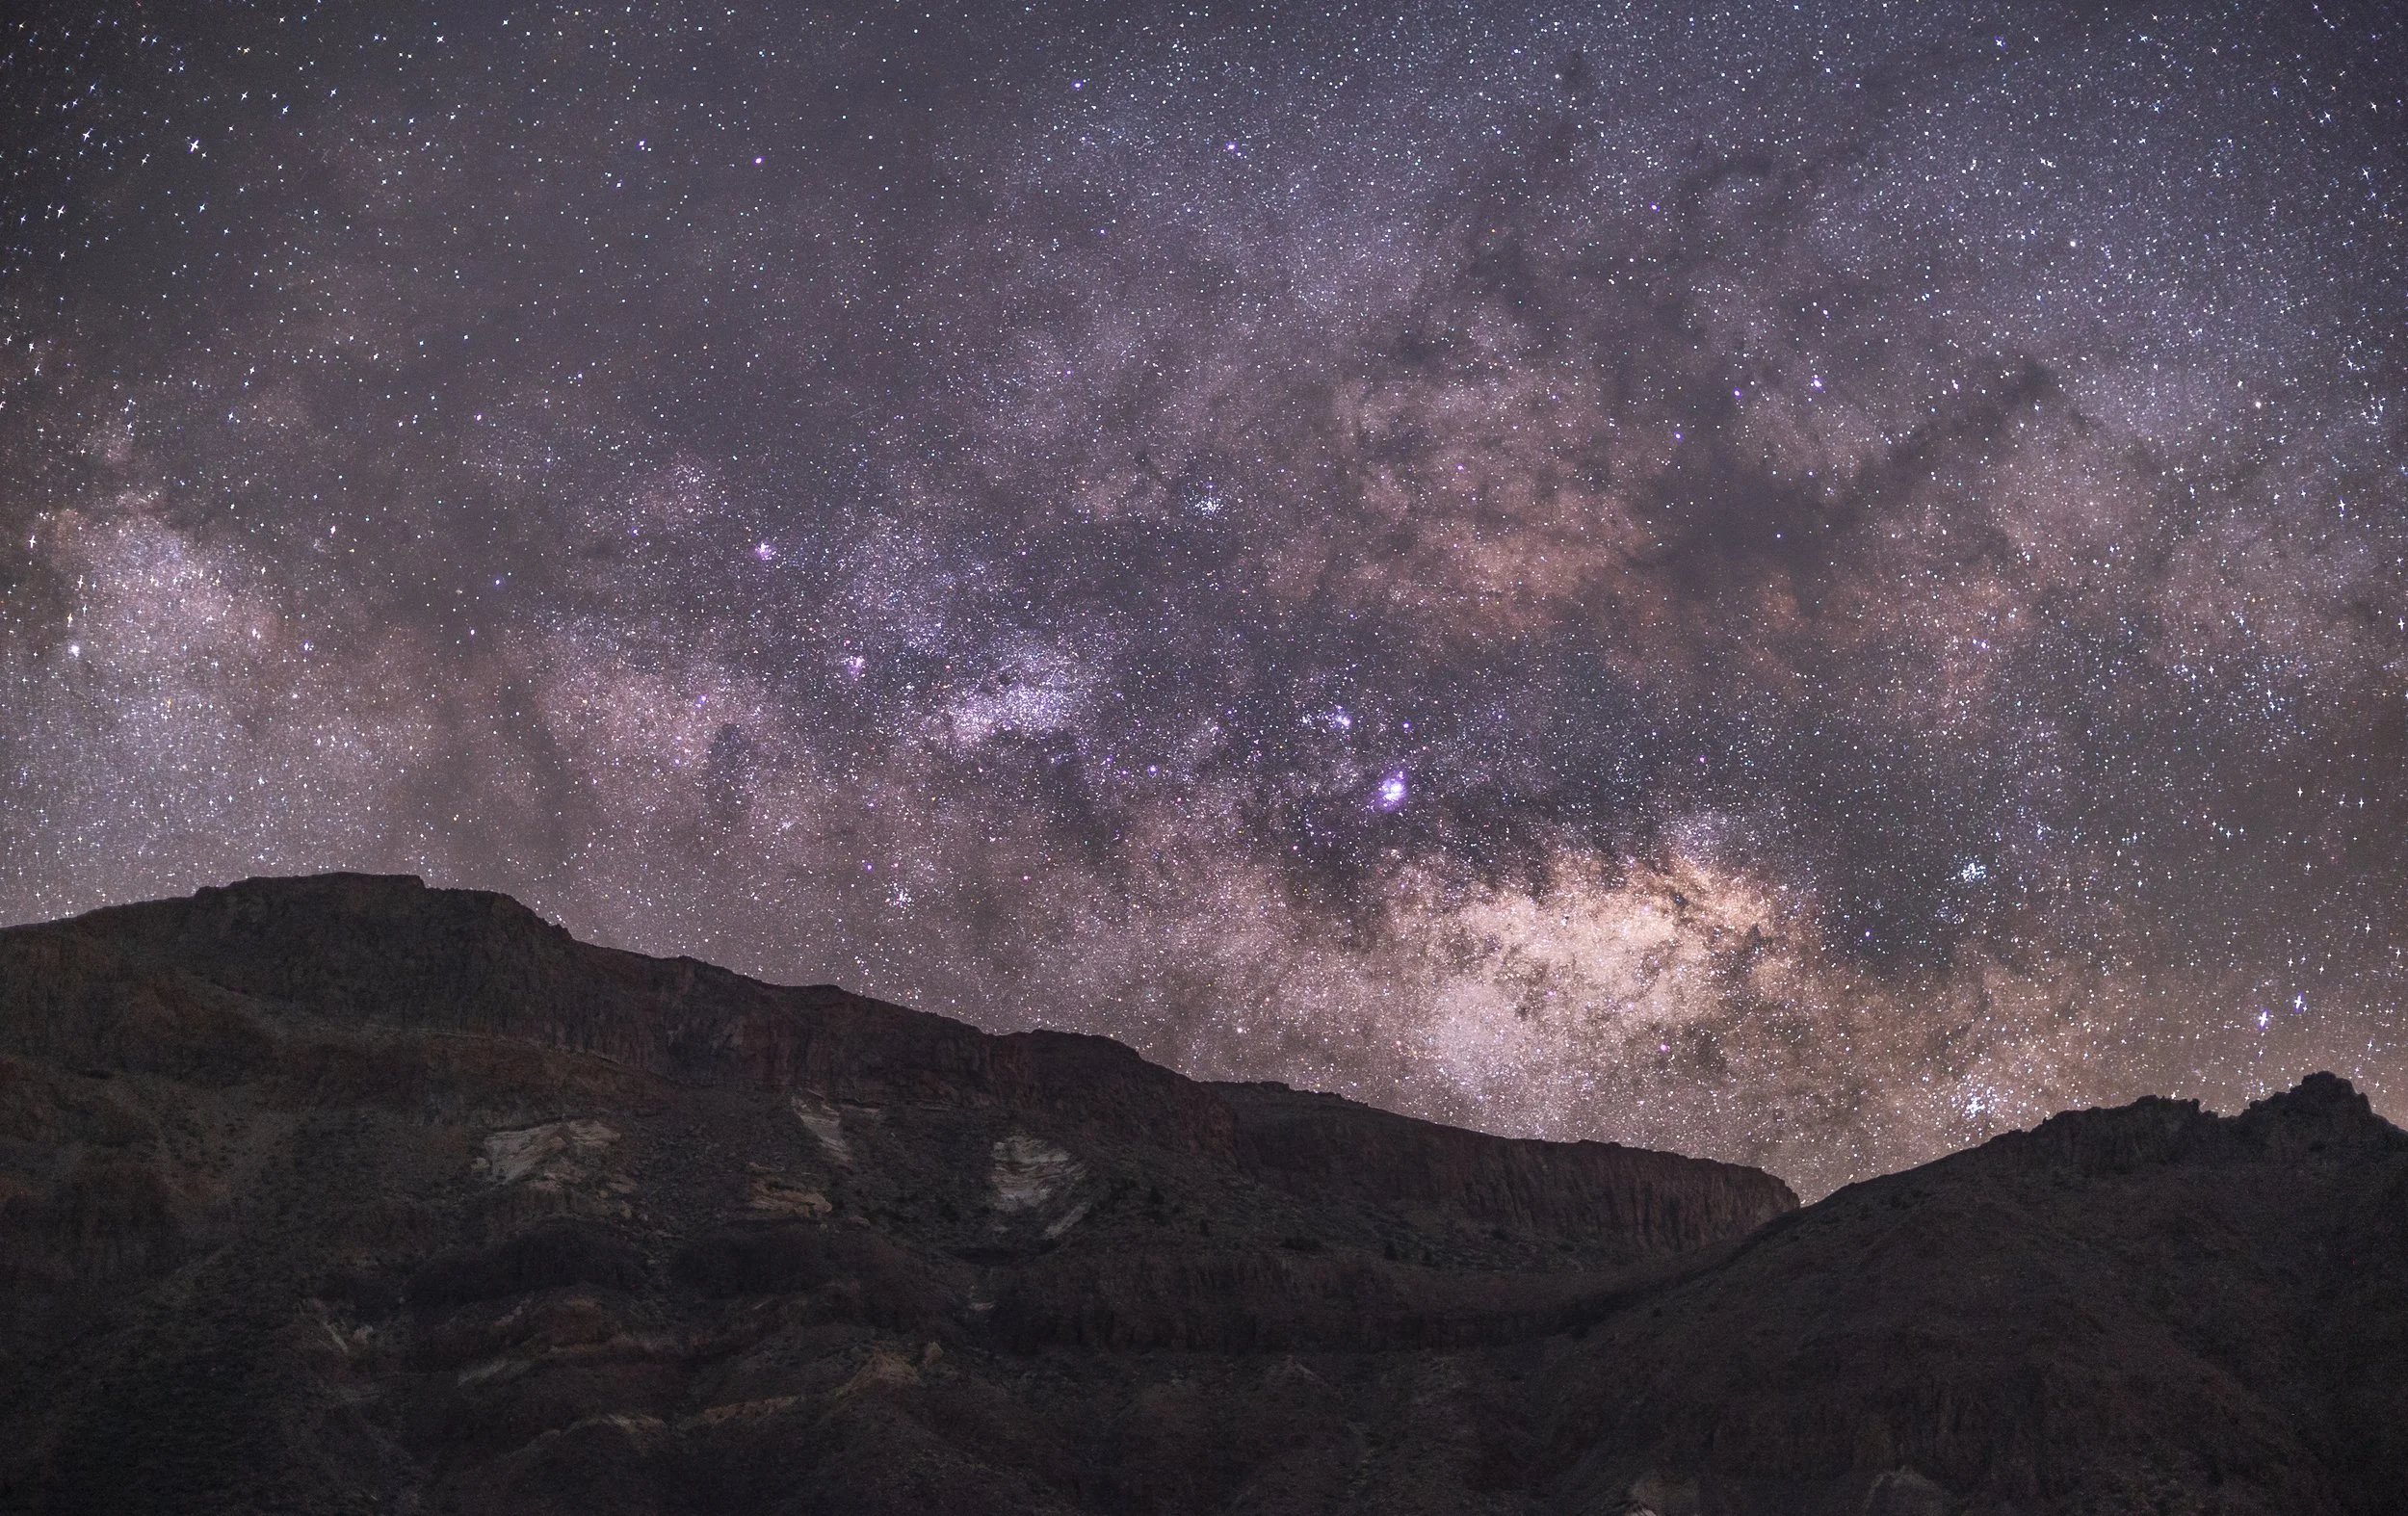
As your skills develop, you may wish to move beyond single-exposure images and explore more advanced astrophotography techniques. One of the biggest upgrades is using a star tracker, a motorised device that rotates your camera in sync with the Earth's rotation. This allows for significantly longer exposures without stars appearing as trails, resulting in cleaner images with less noise (grainy look) and far more detail in the Milky Way, nebulae, and distant galaxies.
Image stacking is another powerful technique used by advanced astrophotographers. Rather than relying on a single photograph, multiple exposures are captured and combined using specialist software. Stacking improves image quality by reducing noise and increasing the signal-to-noise ratio, allowing faint details that would otherwise be invisible. Deep-sky photographers often stack dozens or even hundreds of images to reveal intricate structures within galaxies, star clusters, and nebulae.
Post-processing is where astrophotography truly comes to life. Software such as Adobe Lightroom, Photoshop, PixInsight, or DeepSkyStacker can be used to enhance contrast, colour, and detail while reducing noise and correcting optical imperfections. Advanced editing techniques such as blending tracked sky exposures with separate foreground images, applying selective adjustments, and carefully balancing colours allow photographers to create images that closely represent the beauty of the night sky while maintaining a natural appearance. Mastering these techniques takes time, but they are often what separates a good astrophotograph from an exceptional one.